Okay, gift-giving season is now in full swing. Teachers, friends, family, neighbors, coworkers, and more – there may be a lot of people on your list. Here’s one super-simple DIY anyone can do and bonus, it’s pretty darn thoughtful too. It’s also quite easy and inexpensive. Keep this idea in your back pocket for the next time you’re in need of a cool gift on the cheap.
It’s personalized mugs thanks to the help of permanent markers. Judging from Pinterest, DIY Sharpie Mugs are a present idea you can do a lot with. Try a quote, a print, or even a cute drawing. Write a nickname or term of endearment. Sketch then bake to seal the deal.
Here are few designs to get you inspired. Pin now, craft later.
{Made With Love}

{via PopSugar.com}
{Gold Prints}
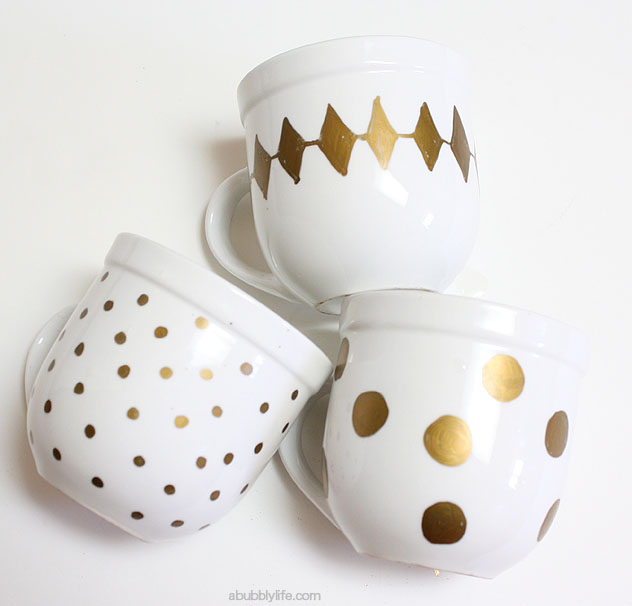
{via ABubblyLife.com}
{Bat Your Lashes}
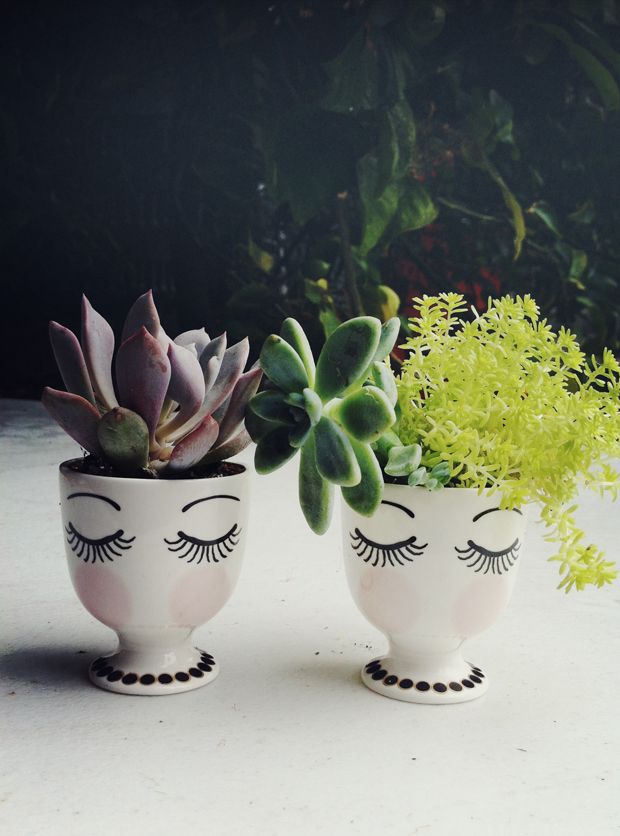
{via JustinaBlakeney.com}
{Silent Night & Glitter}

{via NestOfPosies-Blog.com}
{Miles Away}
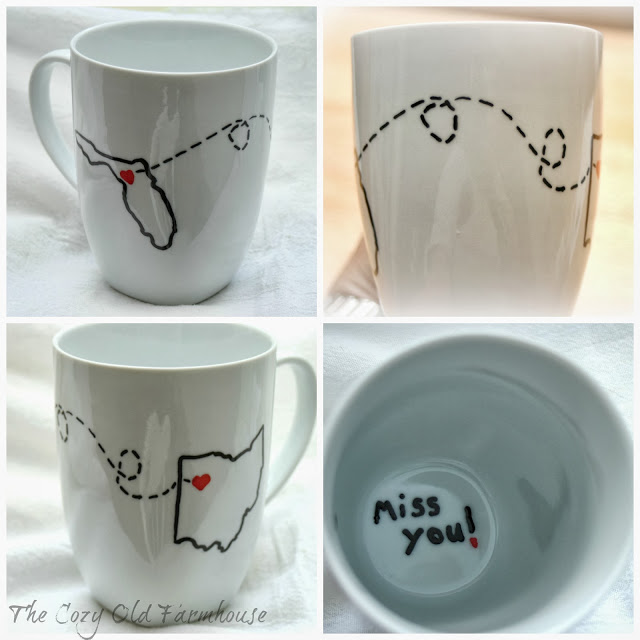
{via TheCozyOldFarmhouse.blogspot.com}
{Oh Deer Dear}
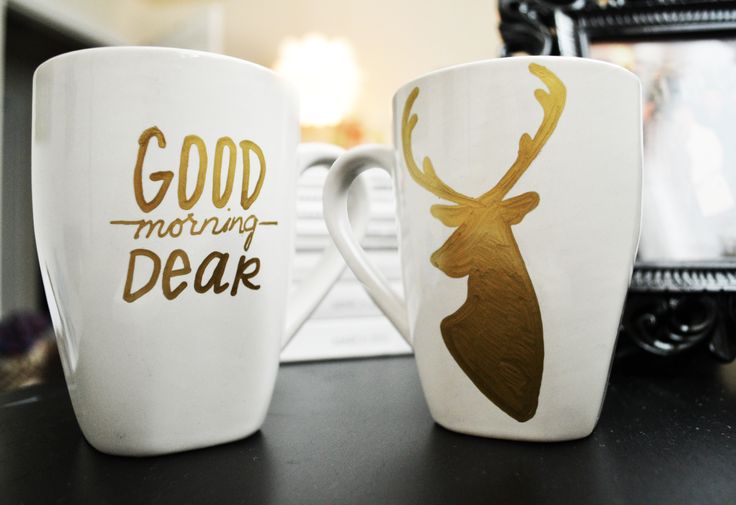
{via Pinterest}
{His & Hers}
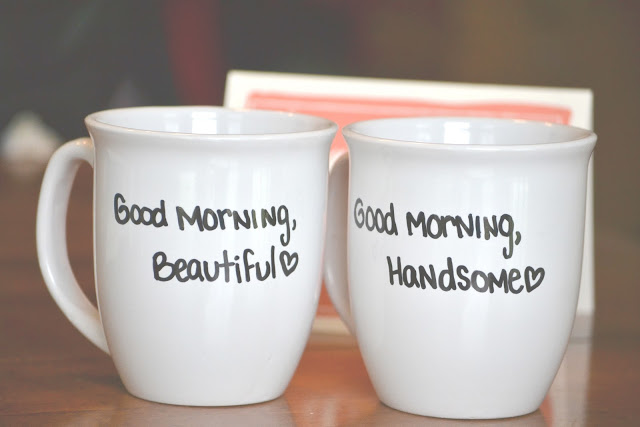
{via LauraRahel.blogspot.com}
{The Gift Of Courage}

{via MelindAnneFaulk.wix.com}
Ready to craft it? If you clicked on any of the links above, you’ll see that each site gives their own preference on markers and baking specifications. Results vary by the marker and mug, but after reading a slew of tutorials I’d say to opt for oil-based sharpies and then bake the mug at 450 degrees for 30 minutes.
Have you tried this DIY before? Comment below!
One comment
Bela
I did the good morning dear one and baked it in the oven at 425 for 30 minutes. The gold sharpie on the cup turned silver after I baked it…