
There is NO EXCUSE for having unkept nails, especially with all the easy nail products out there! Whether it’s your fingers or toes (ugh, especially your toes!), keep your nails in check. If you don’t take care of your digits it send the message that you prob don’t have time to groom and maintain other areas as well, just saying.
In 20 minutes I was able to:
1. Start out here to begin the process.
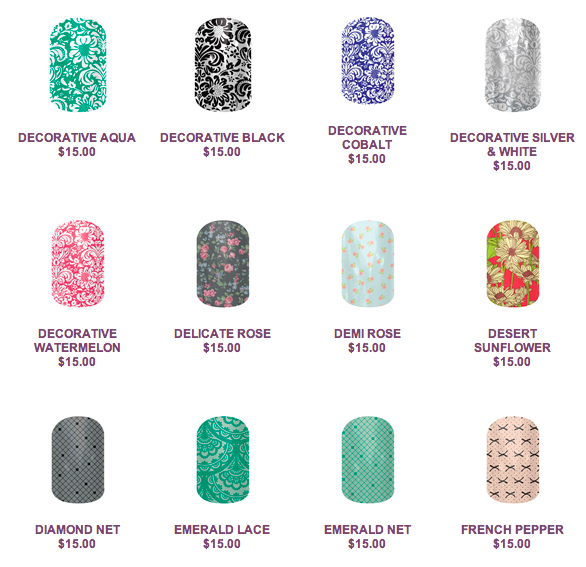
2. Choose the color/design I’m interested in.
3. Choose which nail(s) you want your design to go on. This is perfect if you want to have accent nails!
4. Make your way to checkout and wait for nails to arrive in the mail.
Once your nails come in the mail, it’s time to wrap ’em to your nails and get lots of compliments – get ready!!
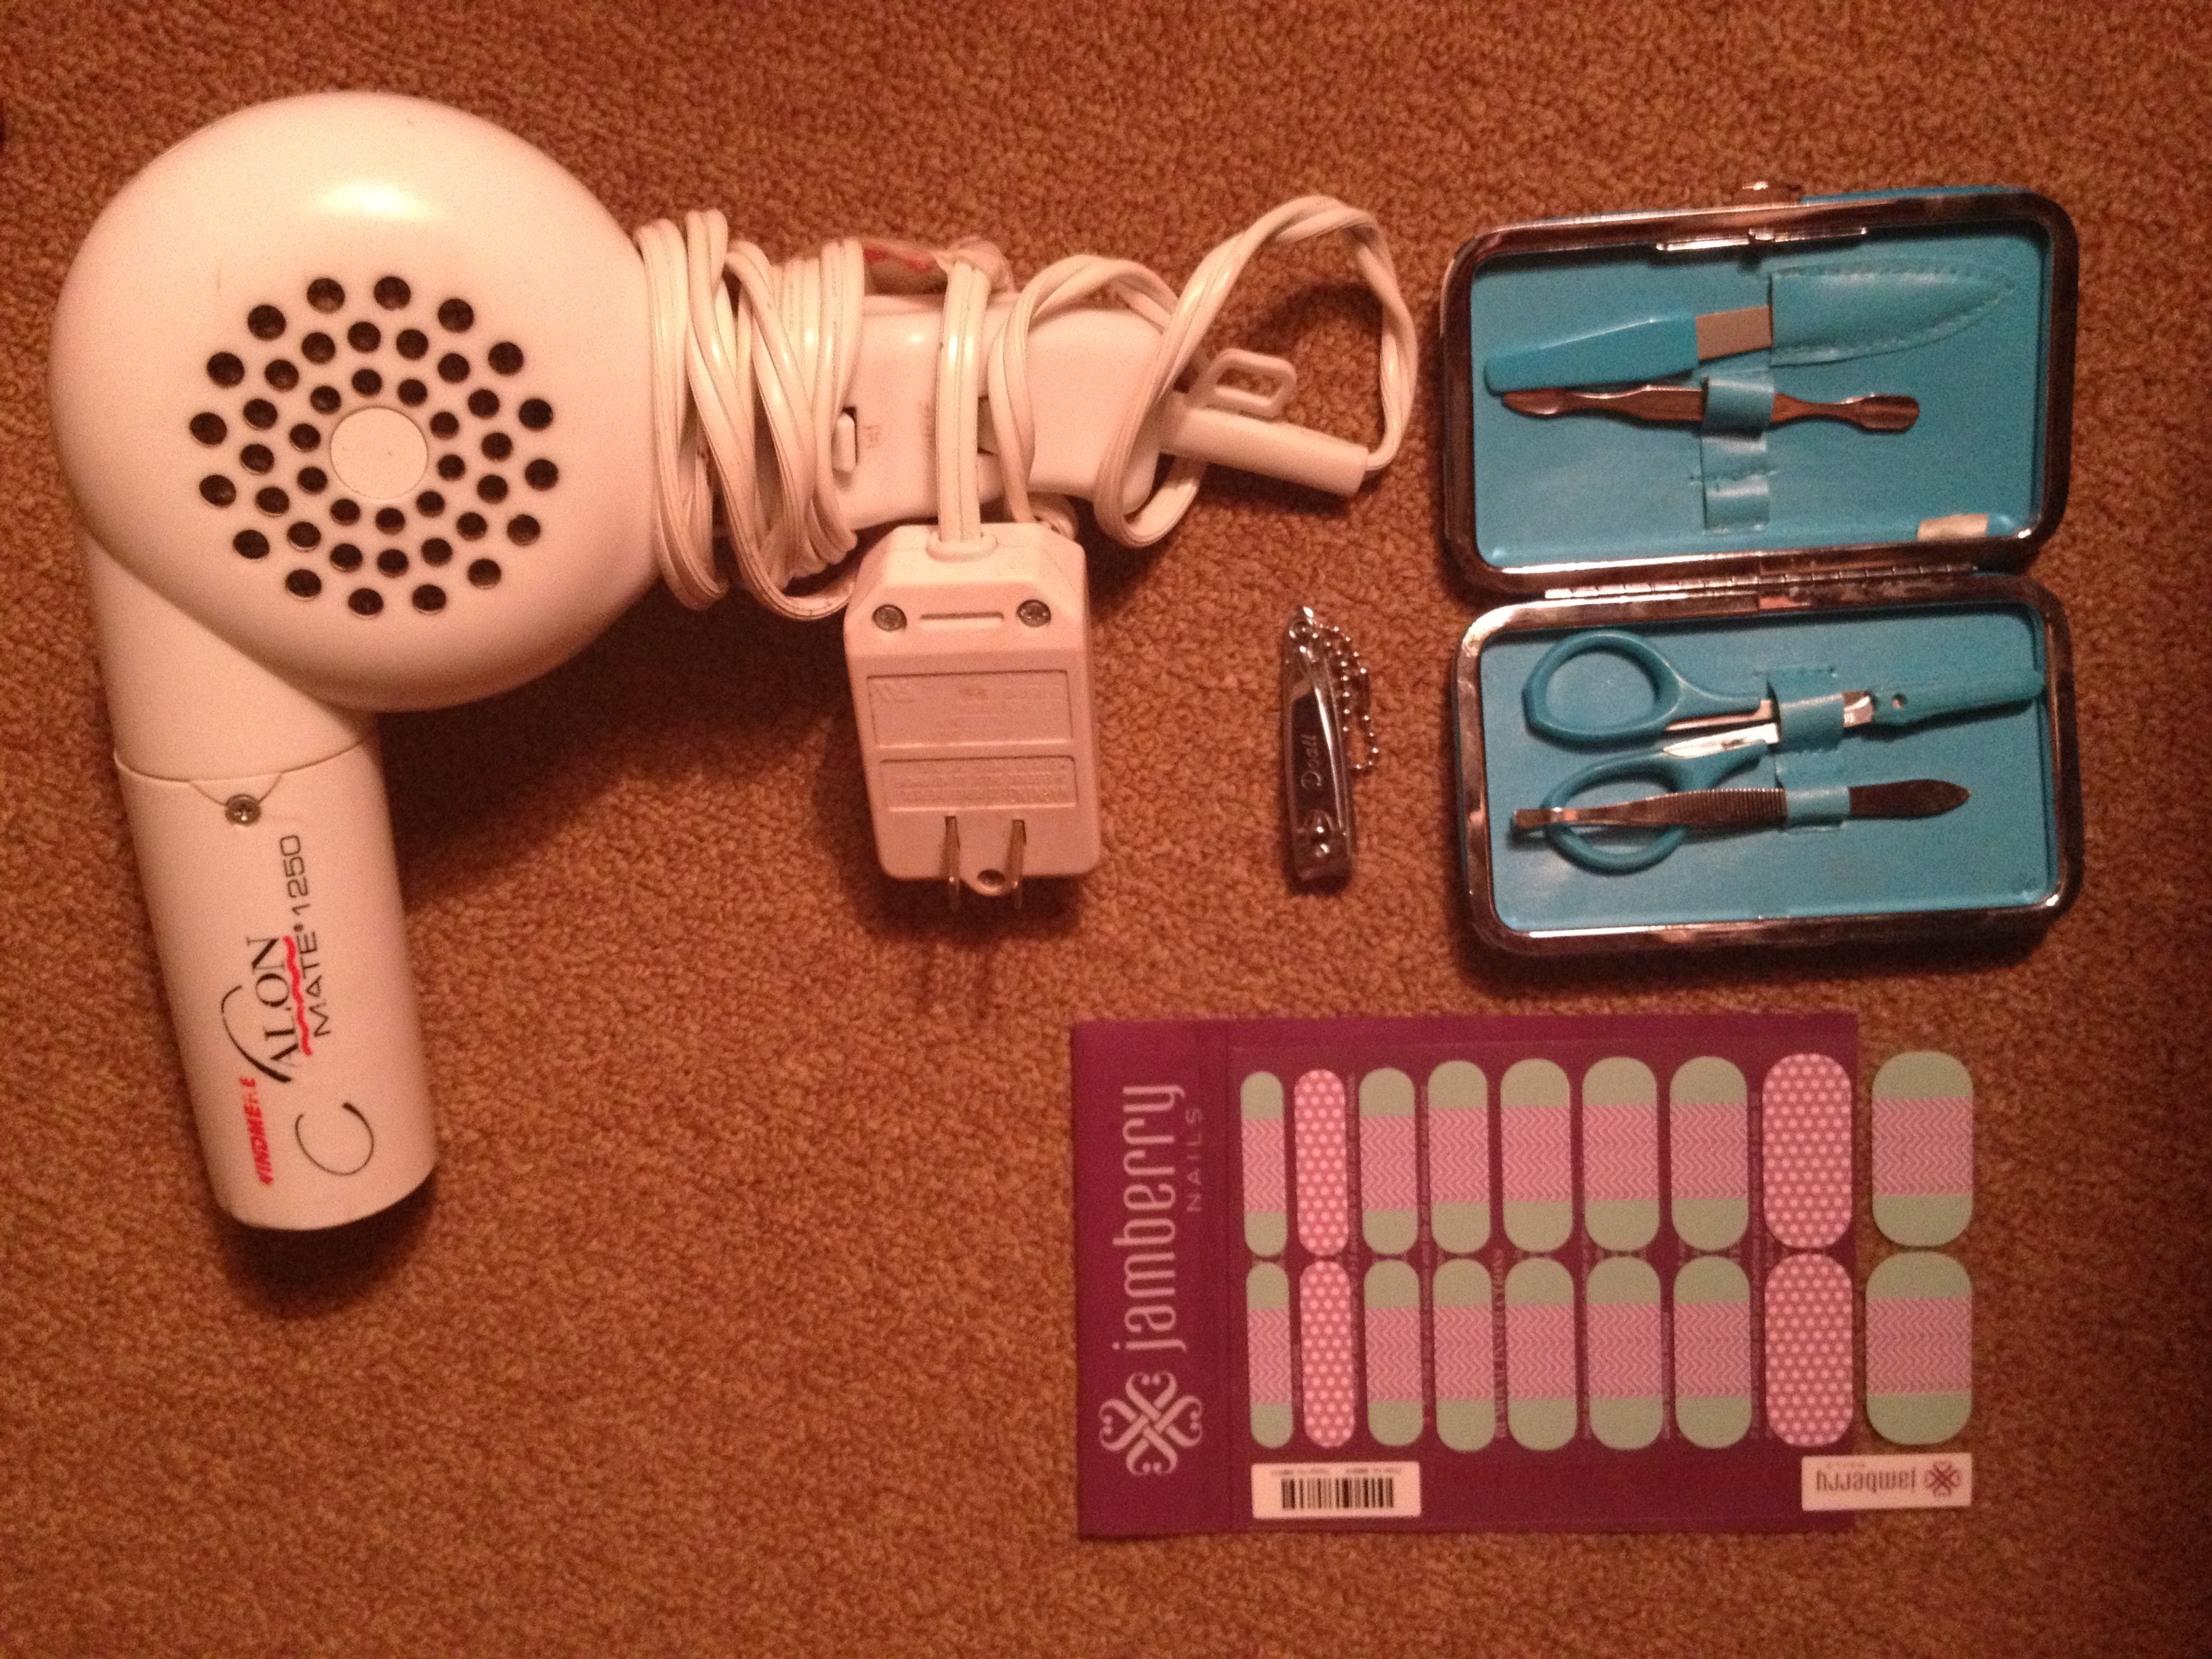
Tools: blow dryer, a nail clipper, and scissors- totally simple!
Directions
I applied my nails while listening to the new Robin Thicke album, so…
1. Make sure to have a fun soundtrack.
2. Match your nails (finger or toe) to the nail wrap that best fits.
3. Peel off the nail wrap and warm adhesive side with a blow dryer for 3-5 seconds until soft and flexible.
5. Trim the top with scissors or nail clipper to remove excess.
6. Apply heat and pressure to the wrap again until it’s bonded to the nail.
Unlike over the counter nail decals, applying heat allows them to last LONGER and avoids them peeling off so quick….GENIUS! (Plus, the heat on your nails feels great! It’s a reassuring feeling to know that you’re decals won’t fall off.)
Think about how many embarrassing times you’ve had nail decals fall off, rip, or look ragged after a couple of days? With Jamberry Nails, you’ll get your money’s worth and have unique nail designs that no one else is rocking!
Here’s my end result.

My custom designed wraps are fun retro Tiffany’s green with purple accents perfect for the tail end of summer. How will you design your Jamberry Nails?
Host a nail party!
If you try Jamberry Nails and love them so much, think about hosting a Jamberry Nail Party or even becoming a consultant! It’s fun, easy and you’ll get to share your love of Jamberry Nails with others- how awesome is that!?
4 comments
Adrienne
They look good! You should also check out Incoco. I love their nail appliqués and they’re better than the Sally Hansen ones.
Jessie
Hey Adrienne! Thanks for the awesome tip!
Bekki
You designed such a cute set and applied them great. What a fun site you have. We love our Jamberry Nails! At our house, everyone from the 1 year old to the 9 year old wears Jamberry Nails all the time.
Brookie
I’m so glad you enjoyed the post Bekki! Jamberry Nails are super fun for everyone!